
How to Build a Monstera Trellis (FML and My Fingers)

Updated: Mar 30
First, you have to have a great best friend. My SO, being the wonderful, thoughtful human that he is, runs marinas for a living. Lake life and all that good stuff. This week he's been in the middle of inspections with the Corps of Engineers, which means he's been pretty busy. I give him the list anyhow, and he goes to Home Depot - in a town we don't live in but where he happens to be working that day - between inspections. He brings back three different types of wire: copper, aluminum, and galvanized steel. Why? Because, as he explained it to me, after he looked at the size of the dowels, he was worried that the aluminum might be too bendy, and the copper is even bendy'er, and since the selection wasn't the best, he figured galvanized steel would be LESS bendy, and thus better at holding up dowels. Turns out he was right.
Here's what we ended up with, after executive wire decisions were made:
4x wood dowels, 1" diameter, 6 feet long (~$7.78 ea. = ~$31)
2x wood dowels, 1/2" diameter, 4 feet long - cut down to 18" x 3 and 12" x 3 (~$2.48 ea. = ~$4.96)
Electrical tape
16 gauge aluminum wire, 25 ft roll
16 gauge copper wire, 25 ft roll
16 gauge galvanized steel wire, 25 foot roll
Needle nose pliers
Wire cutters
Circular saw - I used a battery-powered Milwaukee, courtesy of my SO

Step 1: Prep Now, Build Later
To be completely frank - don't know him, but I hear he's trustworthy - I have no idea how to build a trellis. This is my first. So I've assembled all of this stuff outside, the dogs have sniffed it and deemed it uninteresting, and I'm solo. With power tools.
It'll be FINE. The first thing I did was take one of the larger wood dowels and put it the pot. I measured how far up on the dowel the top of the pot was, made a mark, and then covered that entire section of the dowel - and the bottom - fully with electrical tape. I'll be honest with you, this step took longer than I'd care to admit, but it's important.
Electrical tape is water-proof. You see where I'm going here? It's an inexpensive, efficient way to keep the bottoms of the larger dowels - which will be the vertical posts of the trellis and thus down IN the dirt - from rotting. I chose red, because it's more colorful than the black or the white, and also because I like the idea of having a red end. Will it last forever? Probably not. Will it last until this beast of a rescue Monstera Deliciosa is in need of an even bigger trellis? Probably.
Next up, I took the two smaller dowels - the 1/2" ones - and cut them. These are going to be your cross-sections, which will support the vertical dowels - and the Monstera Deliciosa. At 48" each, you can get 2, 18" sections and 1, 12" section from one of them, then 1, 18" section and 2, 12" sections out of the other one. You'll have a little left over on the second one, but you can use that as a stake for something much much smaller if you need it. Or toss it. Or give it to the dog to chew on. Whatever.
Step 2: Assemble
Step two is the fun one. You get to wrestle a little, and it helps if you have mad balance skills and strong hands.
Take two of the long dowels - the verticals - and one of the 18" cross-sections, the galvanized steel wire, and find yourself somewhere to sit that has enough room for you to lay out the longer dowel completely. I found it helped to be able to lay it on the table in front of me, as when it was about level with my waist, there was less angle on the more unwieldy piece.
Not IN hand but ON hand you'll need your wire cutters and needle nosed pliers. I kept them sitting right next to me so I wasn't fumbling around with one hand looking for them at the right moment. It turned out to be the right move more than once.
And THEN, I learned something new that's something old: lashing. Originating with indigenous and tribal cultures pretty much across the board - but most historically celebrated in Polynesian and Southeast Asian builders - lashing is the art of wrapping two pieces of material together with anything from natural fiber ropes to heavy-duty chains. We are using wire - galvanized steel wire, to be specific. The top of the trellis is the most difficult part, to me. It's going to be six feet in the air, and it needs to be sound enough to hold the weight of a really big, really heavy plant. The galvanized steel wire is the LEAST bendy of all the wires listed, which makes it pretty perfect for this part of the project. As simplistic as it sounds, to lash the two dowels together you just...hold them together with one hand - smaller dowel atop the larger one - and...wrap the wire around it. I started with the larger dowel in the crook between my thumb and pointer and the smaller one held by a combination of those two fingers and the thumb of my other hand. It wiggles some, but you can make it work.
When you're wrapping the wire, you want tension. That means the wire needs to be tight. You should see marks in the wood of the dowels as you're doing this - the wire will actually cut into the wood some. Three wraps one direction, then three wraps the other direction, making an 'X' on both the front and the back of your newly lashed joint. It's going to be a little difficult to hold onto when you're doing the first few wraps. When you start doing the wrapping, you're holding a lot of things at one time - two dowels that are both round and are trying to move, wire that is bendy but not TOO bendy and doesn't necessarily want to make those first few turns. Hands that are not used to doing this sort of work. And that difficulty is going to be true for EVERY SINGLE LASHING YOU DO.
The first lashing goes about an inch and a half or so down the first larger dowel, and maybe a half inch into the smaller one. Not the red end of the big dowel - that one goes down in the pot - the un-red end. Once you get it secured both ways, you're going to cut the end still attached to the roll of wire (which interestingly enough is in a roll on piece of not quite cardboard covered with clear plastic, and the clear plastic makes a dispenser of sorts).
And then, twist it. Like a twist tie. You know? What you put on the end of the bag that holds a loaf of bread?
I found that doing the first twist or two by hand was arduous but also helpful. The reason being - the galvanized steel doesn't want to be twisted, and you lose your tension if you let it go to get the pliers before starting the twist. Come on baby! Let's do the twist!
Once you get the first one or two twists done, grab the pliers. In an effort for complete transparency, my wire cutters have a plier'y end on them thats flat. So I used that to grab both ends of the wire at once, and then just ... twisted. I continued until it was taut, then took the needle-nosed pliers and twisted the twist around itself - making a loop, basically - until the cut ends of the wire were flush against the wood of the dowel. No pokey ends out = no poking myself later. Good.
Now...repeat with the second long dowel and the already attached to one long dowel short dowel. I really hope that made sense because I can't think of a better way to say it.

As a slightly compulsive human, I put all the end twists on one side. I don't think it would matter if you didn't do that, structurally, but I think it looks better standardized. You do you.
You should end up with a red-bottomed, very wobbly, cloak-shaped (think Superman's cape without the blowing in the wind) thing. From there, take one of the 12" cross-sections, and put it somewhere...you know...further down your cloak. I went with the point where the two longer dowels didn't QUITE touch red tips on the bottom, but still kept my cloak shape.
Voila! You have created half a trellis! You're a natural. Now, just do all that again with the other 2 long dowels and 1 more each of the 18" and 12" cross-section dowels.
If you're (un)lucky like I was, you'll have one long dowel that's curved a little. Adds some challenge to an otherwise not even a little bit challenging project, but we'll get to that.
Step 3: Bridging the Gap
You've got two really big cloaks now (hopefully with red ends like mine because that would make me super happy). They're tall and floppy and don't really stand up anywhere.
Don't make the same mistake I did and try to lash them together just ... out in the open. It doesn't work. They're too big, too heavy, and too all-around ungainly to try to hold with one hand and lash with the other.
Do this instead: get your pot. Put the cloaks in it, then lean them against something - I went with the outdoor couch frame, as that was what was handy. Anything of reasonable height to balance the cloaks should do the trick.
You want them to be close to each other, but not crazy close, as you're going to connect them with the last two pieces of cross-section dowel. Same as before - longer piece up, shorter piece down.
The difference this time is you're not putting them an inch and a half from the top of the longer dowels. Instead, you're putting them around 10-12" further down. So, two cloaks, joined close'ish to the top by an 18" dowel, lashed from a standing position, still using the galvanized steel wire. You still with me?
Ok now...we're swapping wire. I know, it seems like a curve ball, but in all likelihood you're: A. almost out of galvanized wire, and B. almost out of the finger strength required to twist galvanized wire.
Swap to aluminum for the bottom cross-section. Trust me, it works out better in the end because you're putting together what WOULD be just a wall of trellis - in a straight line - if you didn't have the ability to twist the outer cloaks some. They have to be angled a little to fit inside your pot - because unless you thought ahead better than I did, your pot is round.

And that is the backbone of your trellis, all assembled and looking great. Sitting in the pot your plant will soon occupy and being all sturdy and whatnot. Now go eat a sandwich. I did. Lashing is hungry work.
Step 4: Wire Play
Now that you've eaten something, let's talk about wire. Those aerial roots need something to grab, and we're going to give it to them.
My pro tip for this section is simplistic, but super helpful. Go ahead and put some rock in the bottom of your pot - I used river rock b/c that's what I had, but you can use whatever you have handy. Rocks out of your driveway, lava rocks that you bought for topper but realized you hated almost immediately, any rocks really. You're adding weight, and nobody's ever going to see it.
Next up, put in some substrate. Not like fill the pot to the top substrate. But for sure enough to "plant" the trellis. Backfill, just like you would with a plant. This helps the trellis stand up, which is super important while you're playing with wire. It's not going to be perfectly stable yet, but even a few inches of substrate over the rocks will help hold the whole contraption up.
Compared to the actual building process, this part is fairly quick. Take the rest of the aluminum wire, and, starting at the bottom, attach it - twist it - onto one of the outermost dowels. Doesn't really matter which one I don't think. You probably don't even HAVE to start at the bottom, but I did, so that's what is going in the instructions.
Once you have it twisted on, loosely string it from one dowel to the next, doing one loop around each dowel as you go across the structure and one loop around each outer dowel as you go up. Across, up. Across, up. Repeat til you hit the top or run out of wire. I spaced them approximately 4'ish inches apart.
And now, the pièce de résistance. Take the as-yet-untouched copper wire, twist it onto a piece of the vertically strung aluminum wire, and vertically braid it through. Sort of like you're layering pie crust. Over, under up and down. I think I ended up with 2-3 strands vertically on each cloak and one strand in between them.
Now, take the whole shebang inside. Do not, and I mean do not, try to pot your plant outside and then bring it in. Would it make less mess, sure. However comma, this thing is heavy now. How heavy is it going to be once you get a big plant and a bunch of dirt in it? REALLY heavy. Like, I bought one of the pot holder rolly thingies for mine because I wanted to be able to move it and also not die every time heavy.
So inside we go, and I went ahead and put the pot (with the trellis) ON the rolly thingy for good measure. Pot the plant, making sure you give it enough room AND the trellis enough room - mine is a good inch or two in from the back of the pot.
Once you have the dirt in there and the plant in the soil but BEFORE you attach it to the trellis, grab those needle-nosed pliers one more time. By now you should have realized why we were glad we ran out of galvanized and put aluminum wire on the bottom joints in the center. They move better, and that section of the trellis needs to be able to move a little while you're getting everything situated.
Now, though, we're going to do some tightening. Not of the aluminum joints - they'll just break - but of the galvanized steel joints. Especially at the top. And super especially if you have a weird curved dowel like I do.
As you've been wrestling this behemoth, your lashings have wiggled some. They've loosened a little. And since we're not professionals, they weren't the tightest to begin with.
Let me teach you a 'Bama trick. This is how we tighten barbed-wire fence, albeit with larger pliers. Take your needle nose pliers, and on each joint, near where you did the twist, grab a piece of the wire. Turn the pliers, and watch the magic happen.
Your joint should visibly tighten, which will tighten up the entire structure of your trellis. More stability = less falling over plants.
Now tie your plant to the trellis using whatever you use. I opted for garden twine because it was at hand, but velcro tape would work too.


The End
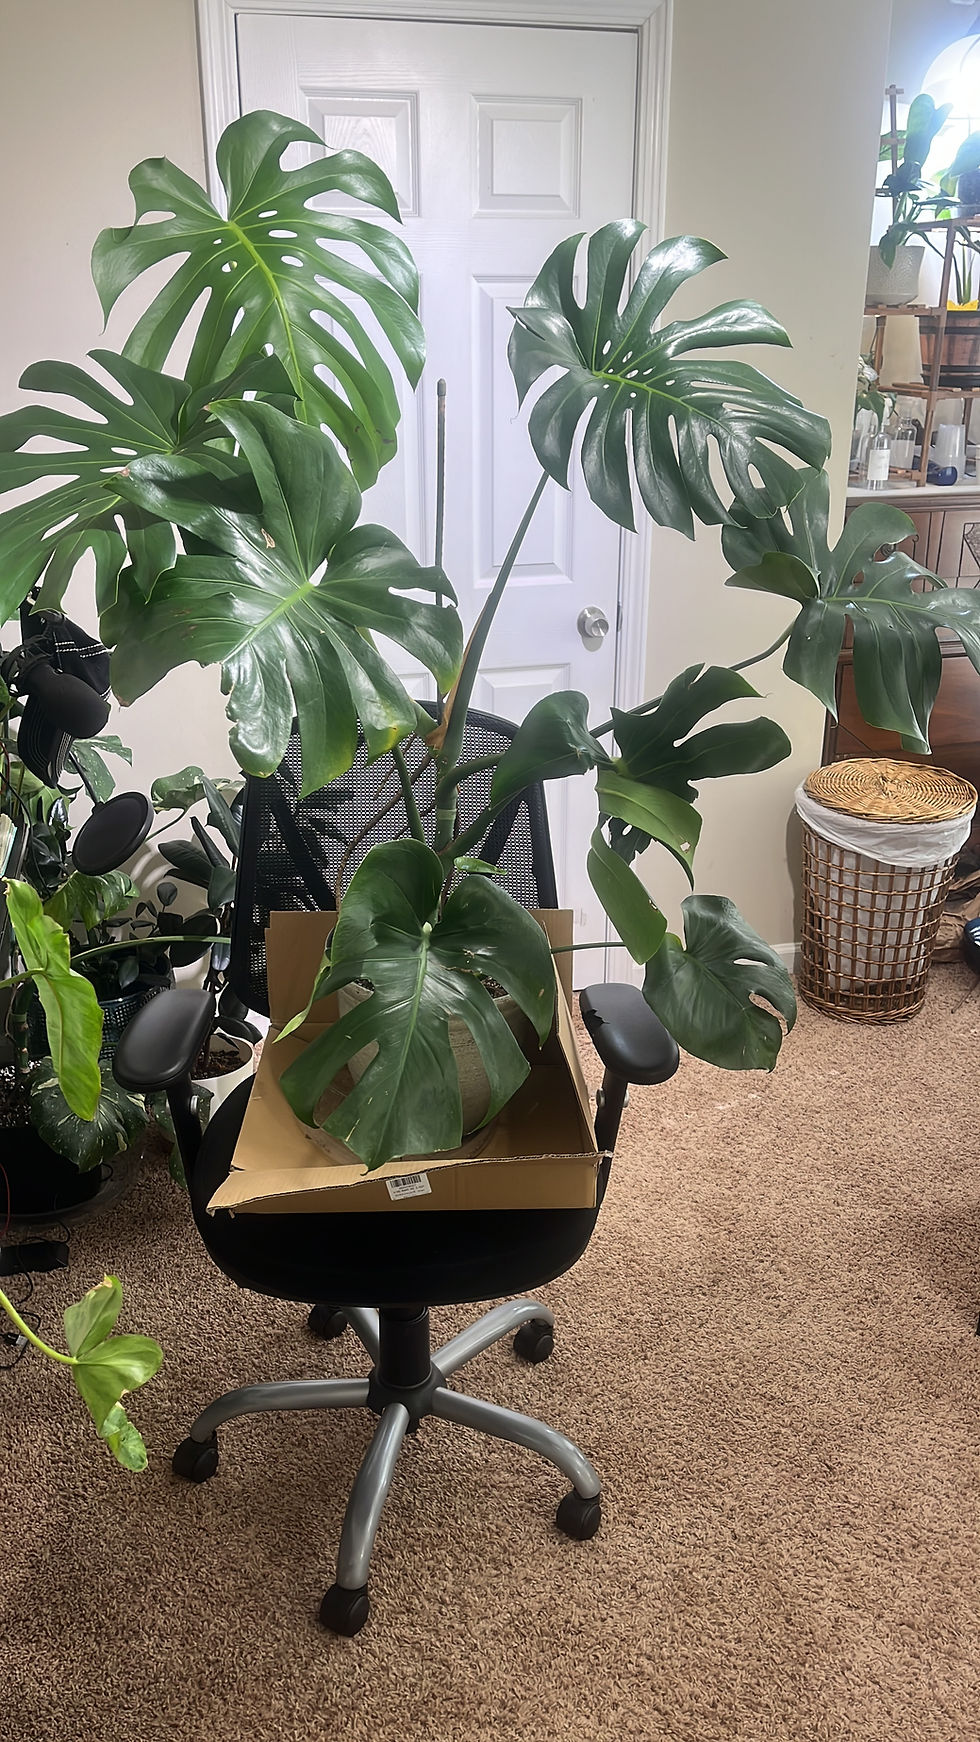
And that's it. Put your newly-trellised Monstera - Deliciosa or otherwise - wherever you have room for it. And, if yours is anything like mine was, don't be shocked if that giant-looking trellis you just built already looks a little smaller than you thought. You just have a big plant, and even though it's filling more trellis space than you originally thought, it's not overtaking it...yet. Next up in my particular case is lighting. I had to move this big beotch out of the corner in my spare room greenhouse after she beat up on the Florida bronze. So the next installment will include however I figure out putting up non-wall or ceiling mounted grow lights in a vaulted ceiling living room. Should be fun.
If you're in the Flowery Branch area and want to skip the build entirely, we've got one 3' Monstera Deliciosa available for local pickup — already in Not Dirt, already greenhouse hardened, already sizing up her new corner.
And if you'd rather grow your own from scratch, the Greenhouse Grow Kit has everything you need to start — rooting hormone, Not Dirt, clear monitoring liner, and a cutting of your choice.
The pep talk is free. The Not Dirt isn't.

Comments